Take our contest to see how fast you can generate your first PDF!
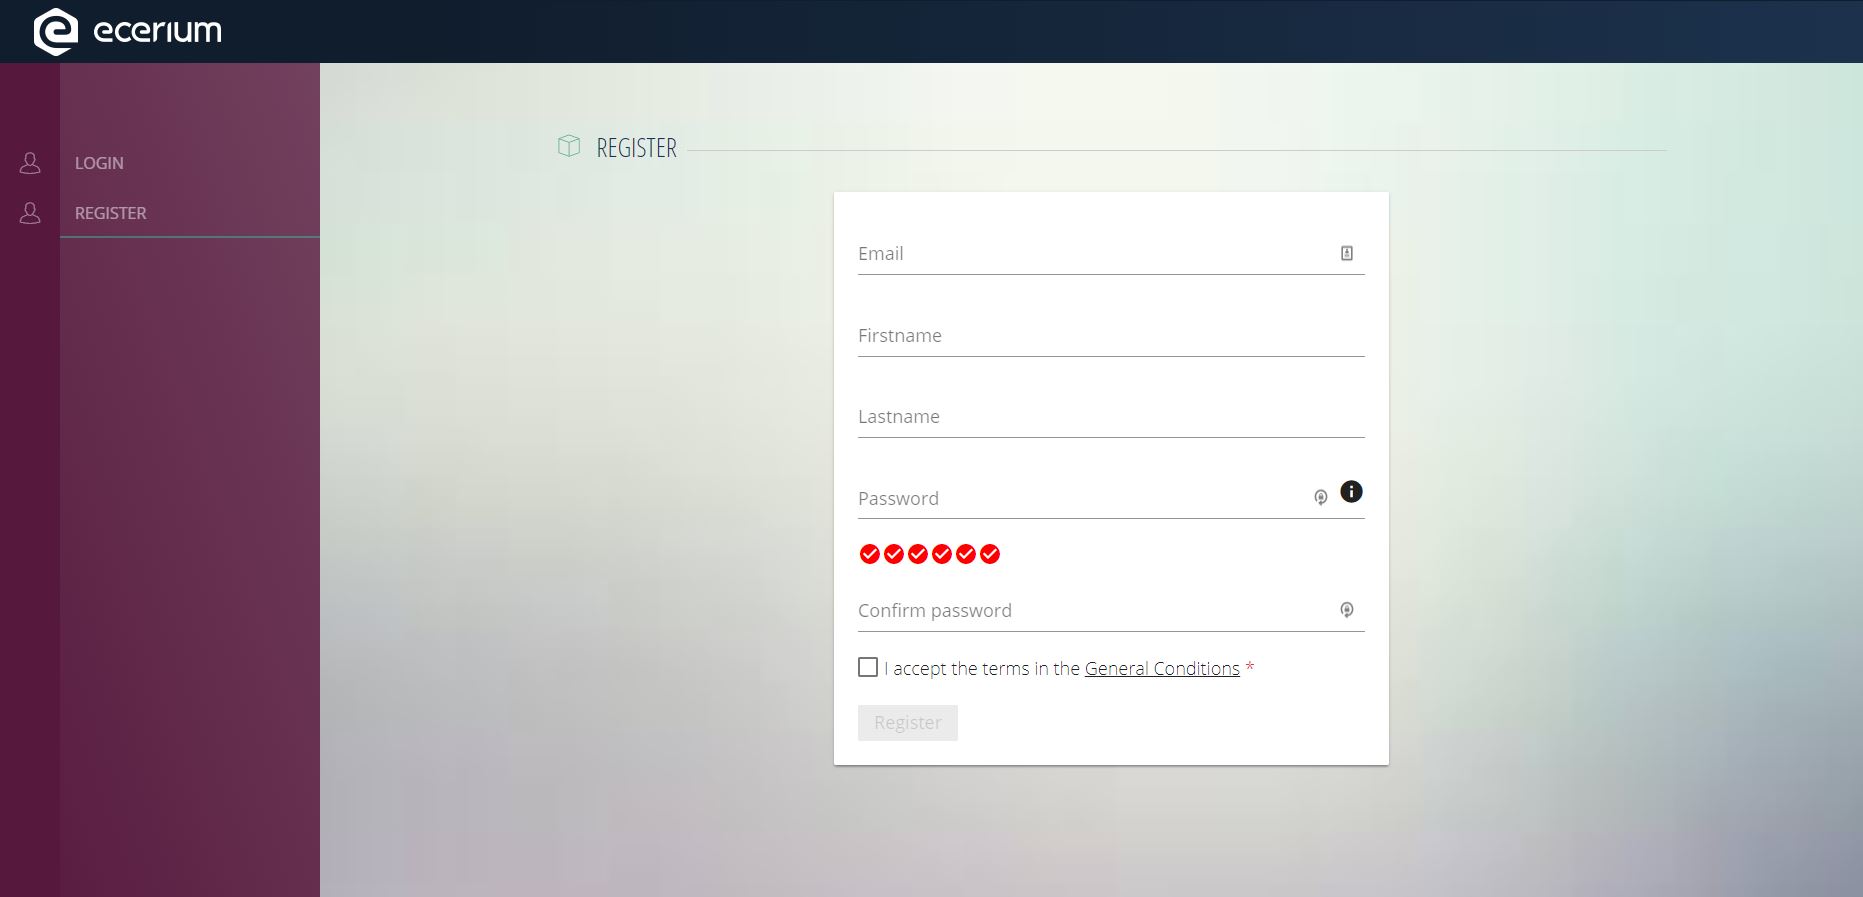
First, register an account.
Register an account on https://elements.ecerium.com and you're ready to go. Your contest time counter will start when your account is registered!
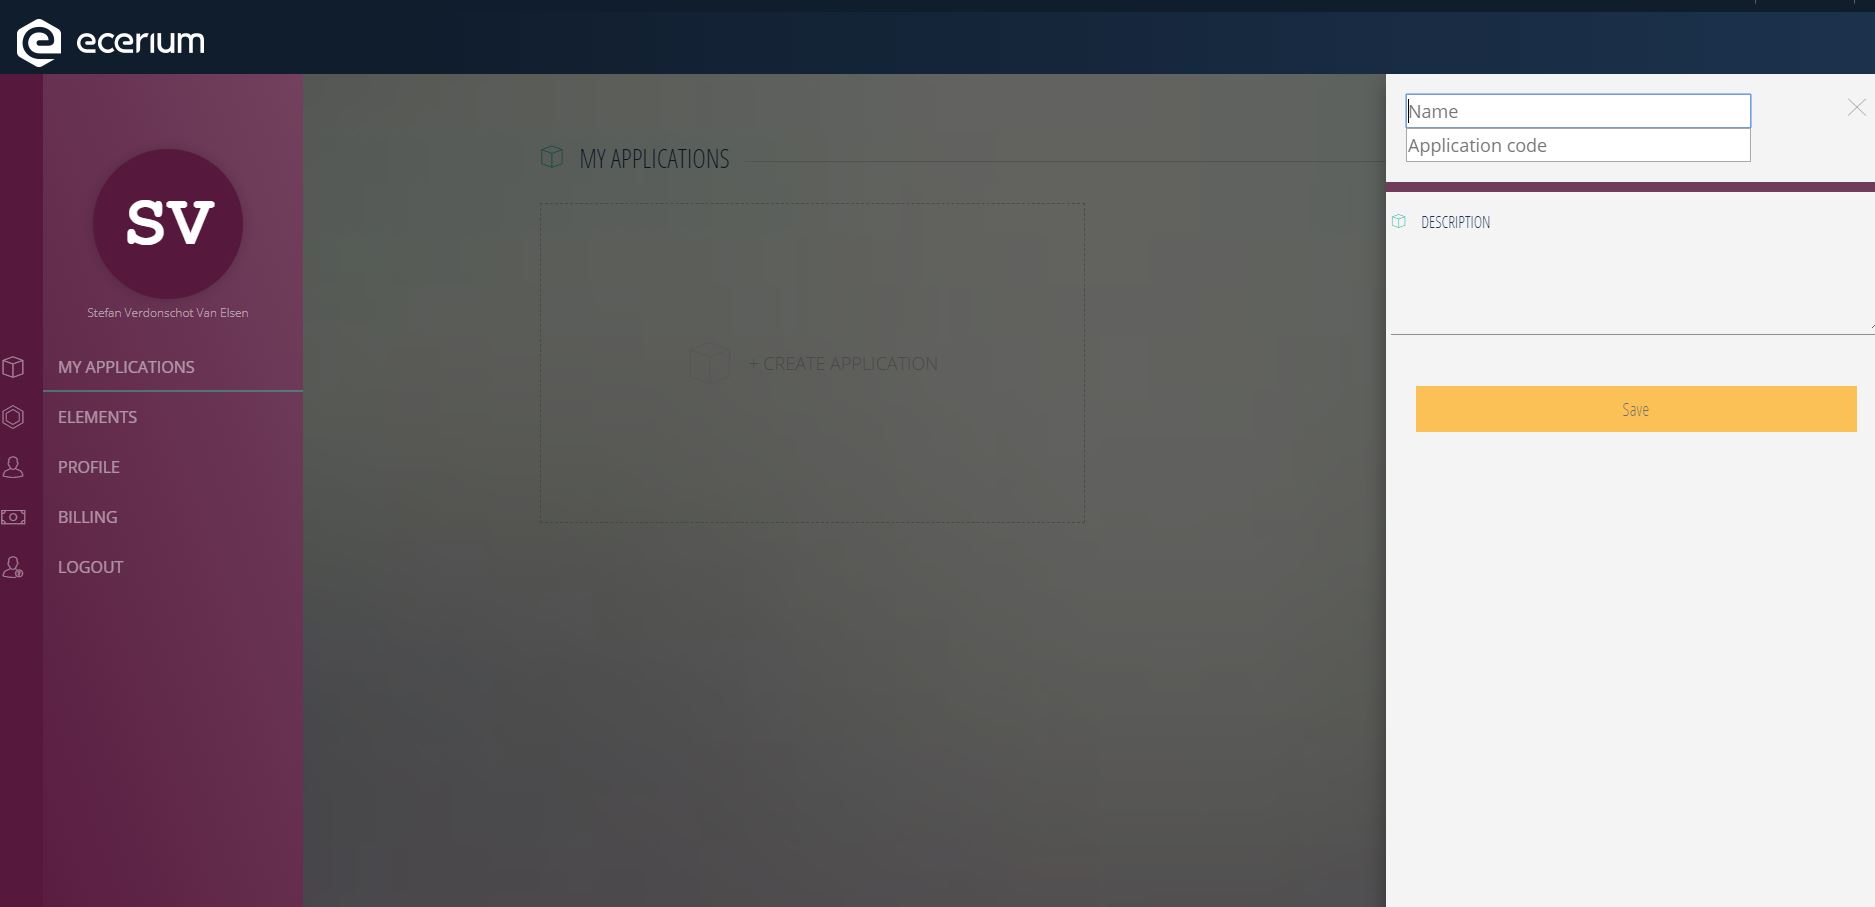
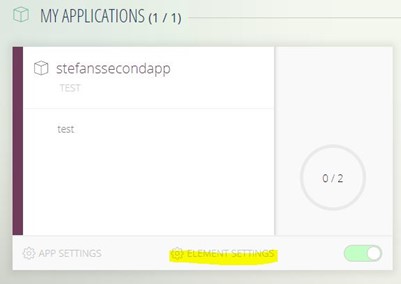
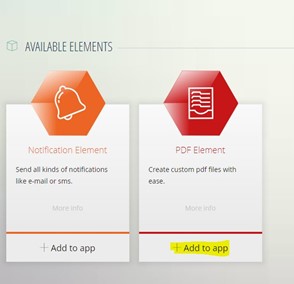
The next step is to click the 'element settings' of your newly created application and add the PDF element.
Select the license you want to use for this element. you can always change your license later on.
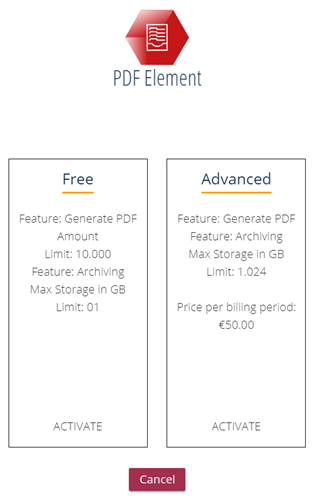
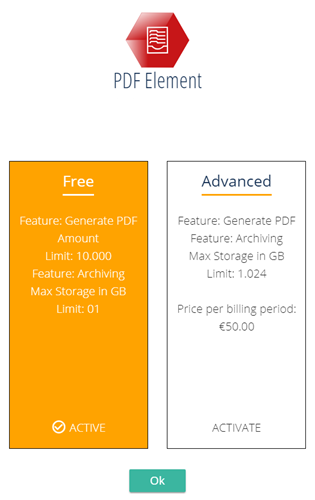
We select a Free license in this example. Click Activate and confirm by pressing the Yes button when the popup asks for confirmation.*

* You can only change your license every 30 minutes for security purposes.
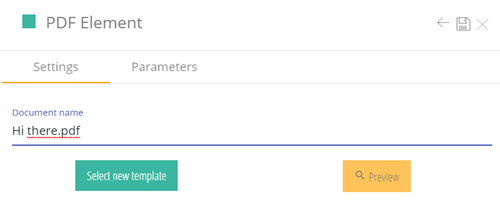
Next we import the pdf file in our PDF Element by selecting new template and adding the file
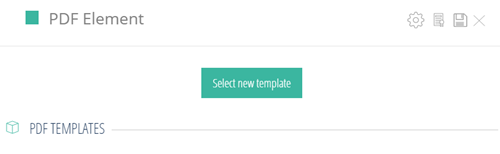
The selected pdf file can now be configured as a template,
please be advised that you still have to save the file with the Save icon in the top right corner
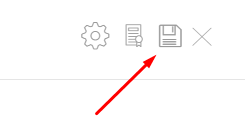
You can change the file name before saving your pdf file
After this you can start by adding parameters, click the parameters tab.
Add the parameters you want to use.

Make sure you allow popups in your browser from our Element to see the Preview as they are generated pdf files.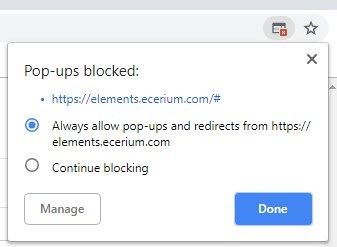
Firstly we are going to save your Application Token so we can use it to create a request.
Get the token from the Application properties on the ecerium Platform. You can create different Tokens for different purposes.

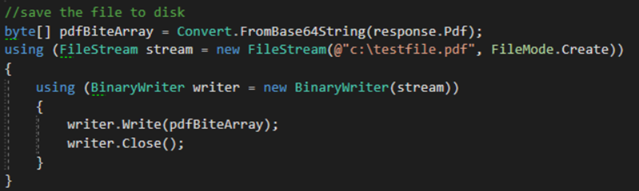
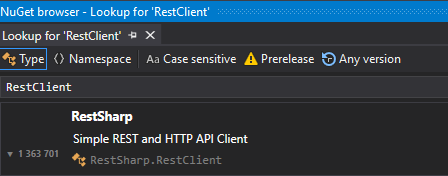
Download a RESTClient to access the service. In our example we used RestSharp from the NuGet browser, this service also supports the serialize functions needed in this example.
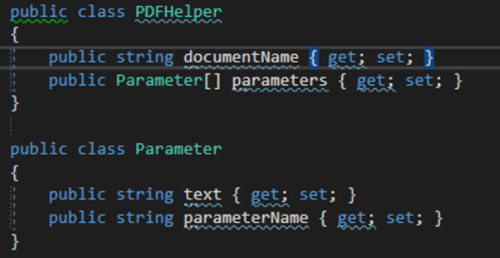
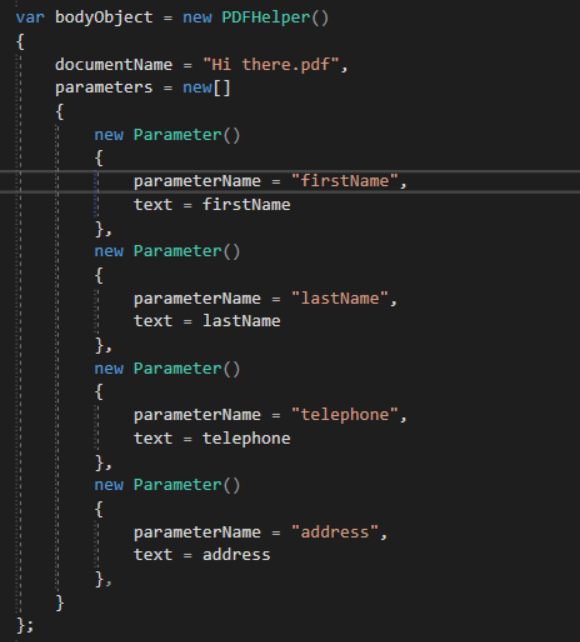
For your convenience we have created a class which allows you to send out a PDF template, we will get into the details of the parts you need to configure in a minute.
Then we select the endpoint to use.
| var pdfElementToBase64Url = "https://pdf.elements.ecerium.com/api/pdf/tobase64"; |